
Introduction
Arcade monitors, particularly CRT (Cathode Ray Tube) displays, were the gold standard for arcade machines for decades. Their vibrant colors, deep blacks, and smooth motion made classic games come to life in ways that modern LCDs still struggle to replicate. This guide explores how CRT monitors work, their key components, common issues, and how to maintain and restore them.
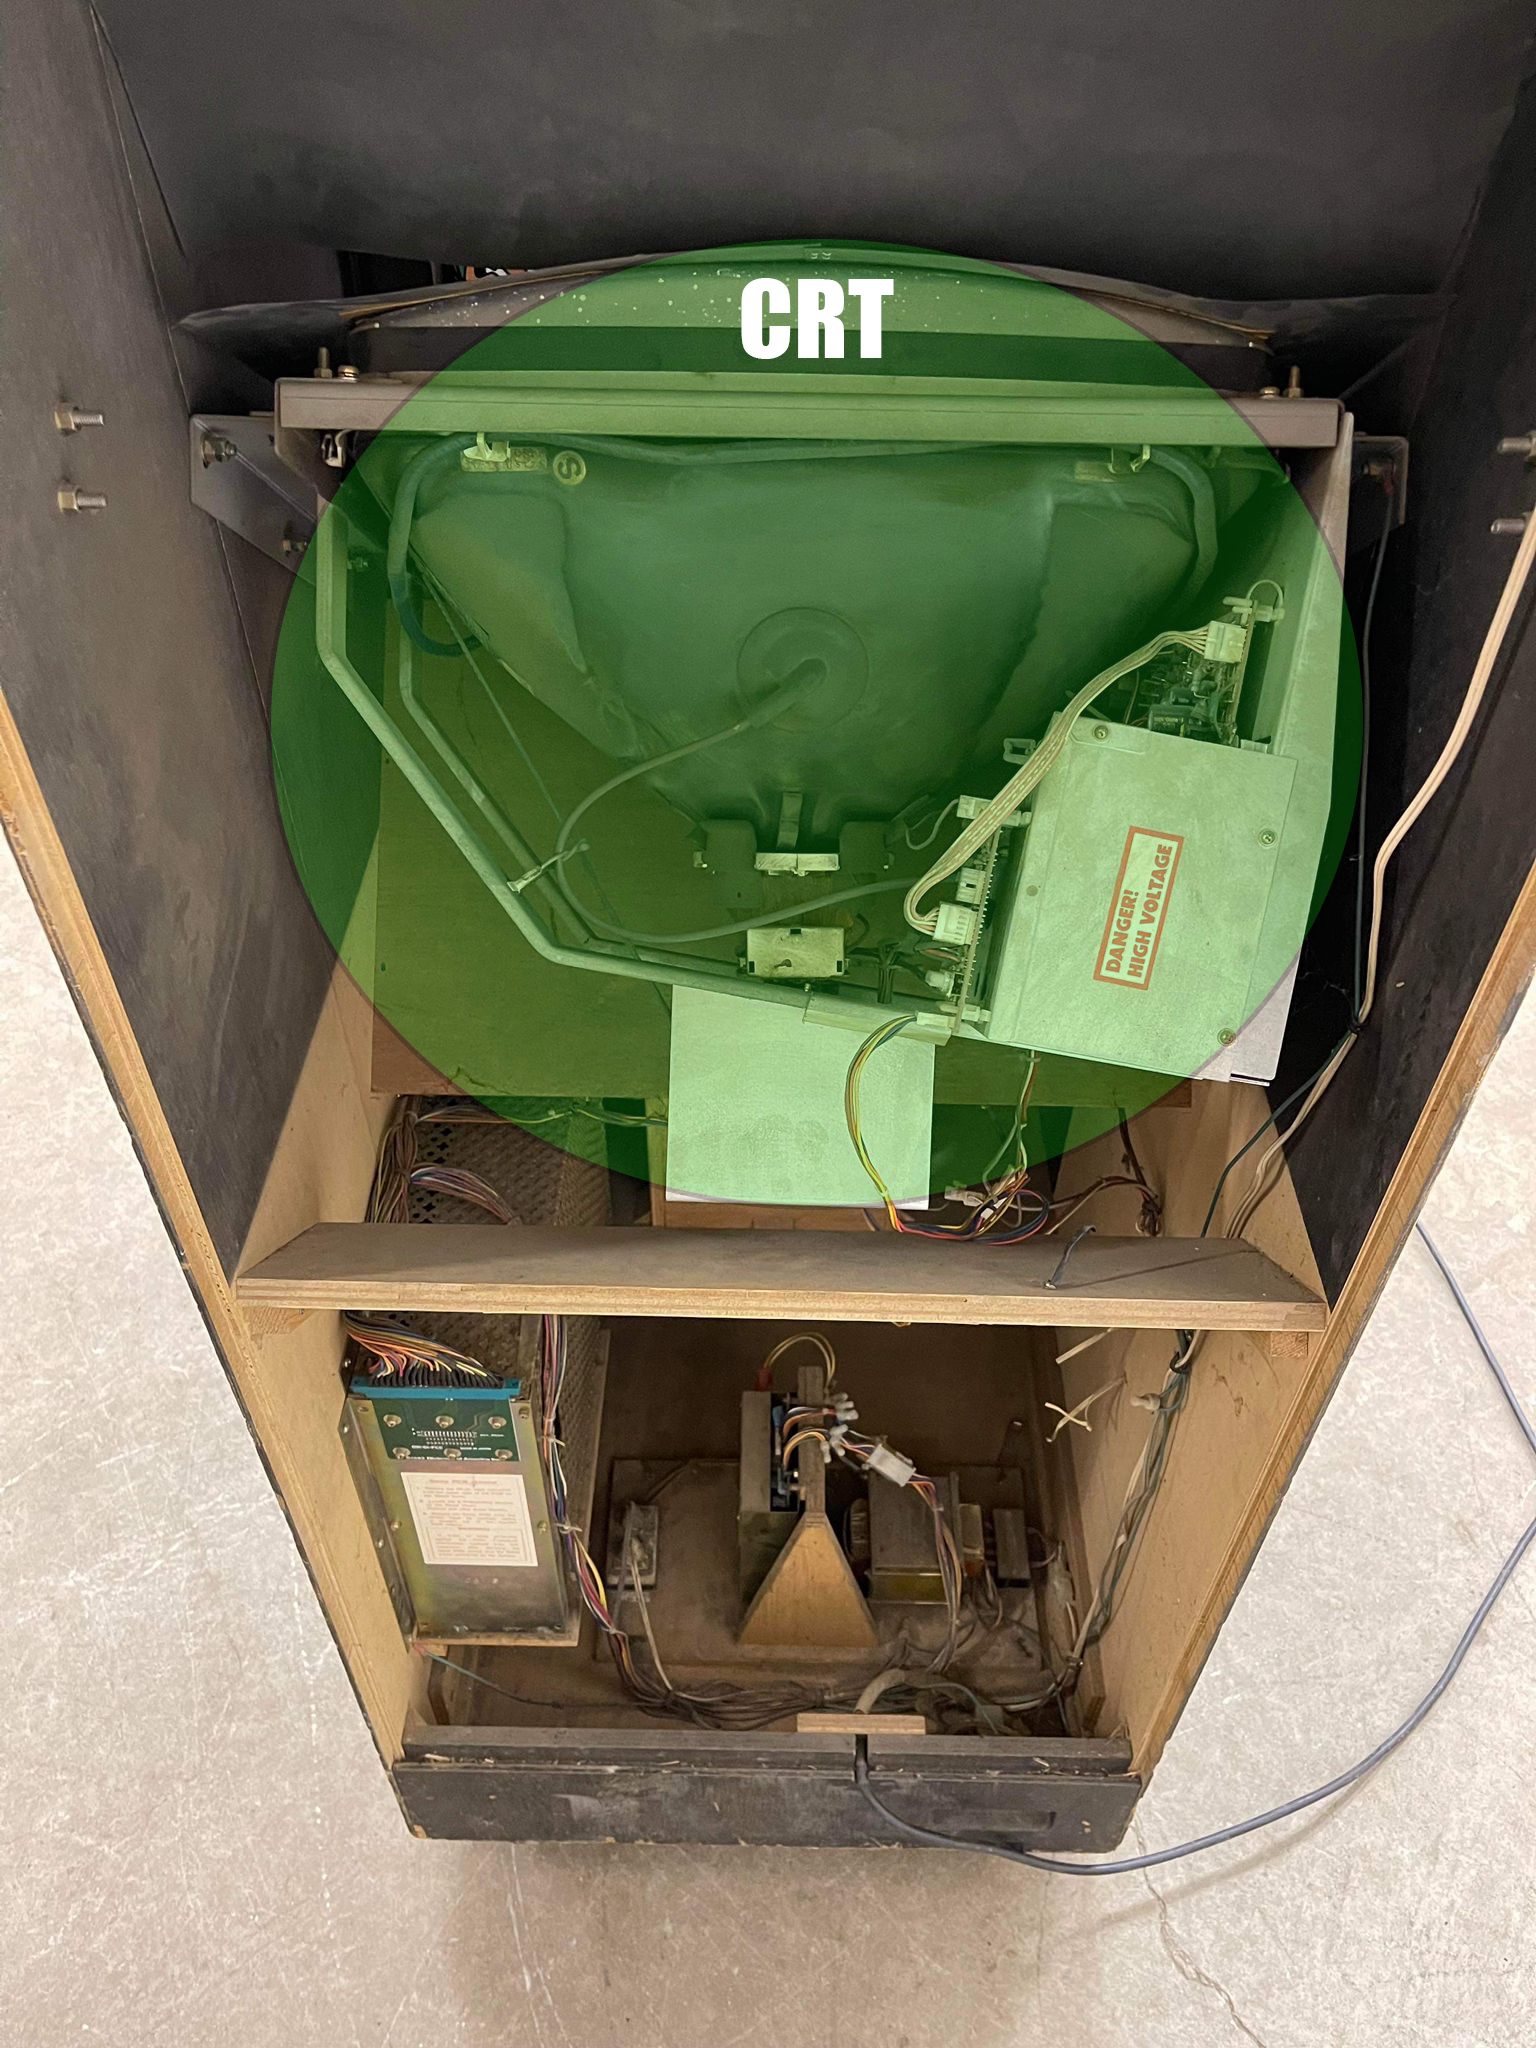
1. What is an Arcade CRT Monitor?
A CRT monitor is a display technology that uses an electron beam to excite phosphor-coated glass, producing images. Unlike modern flat-screen displays, CRTs create sharp, responsive visuals with virtually no input lag, making them ideal for arcade gaming.
Arcade CRTs were used in cabinets from the 1970s through the early 2000s, with iconic manufacturers such as Wells-Gardner, Nanao, Electrohome, and Hantarex producing the most widely used models.
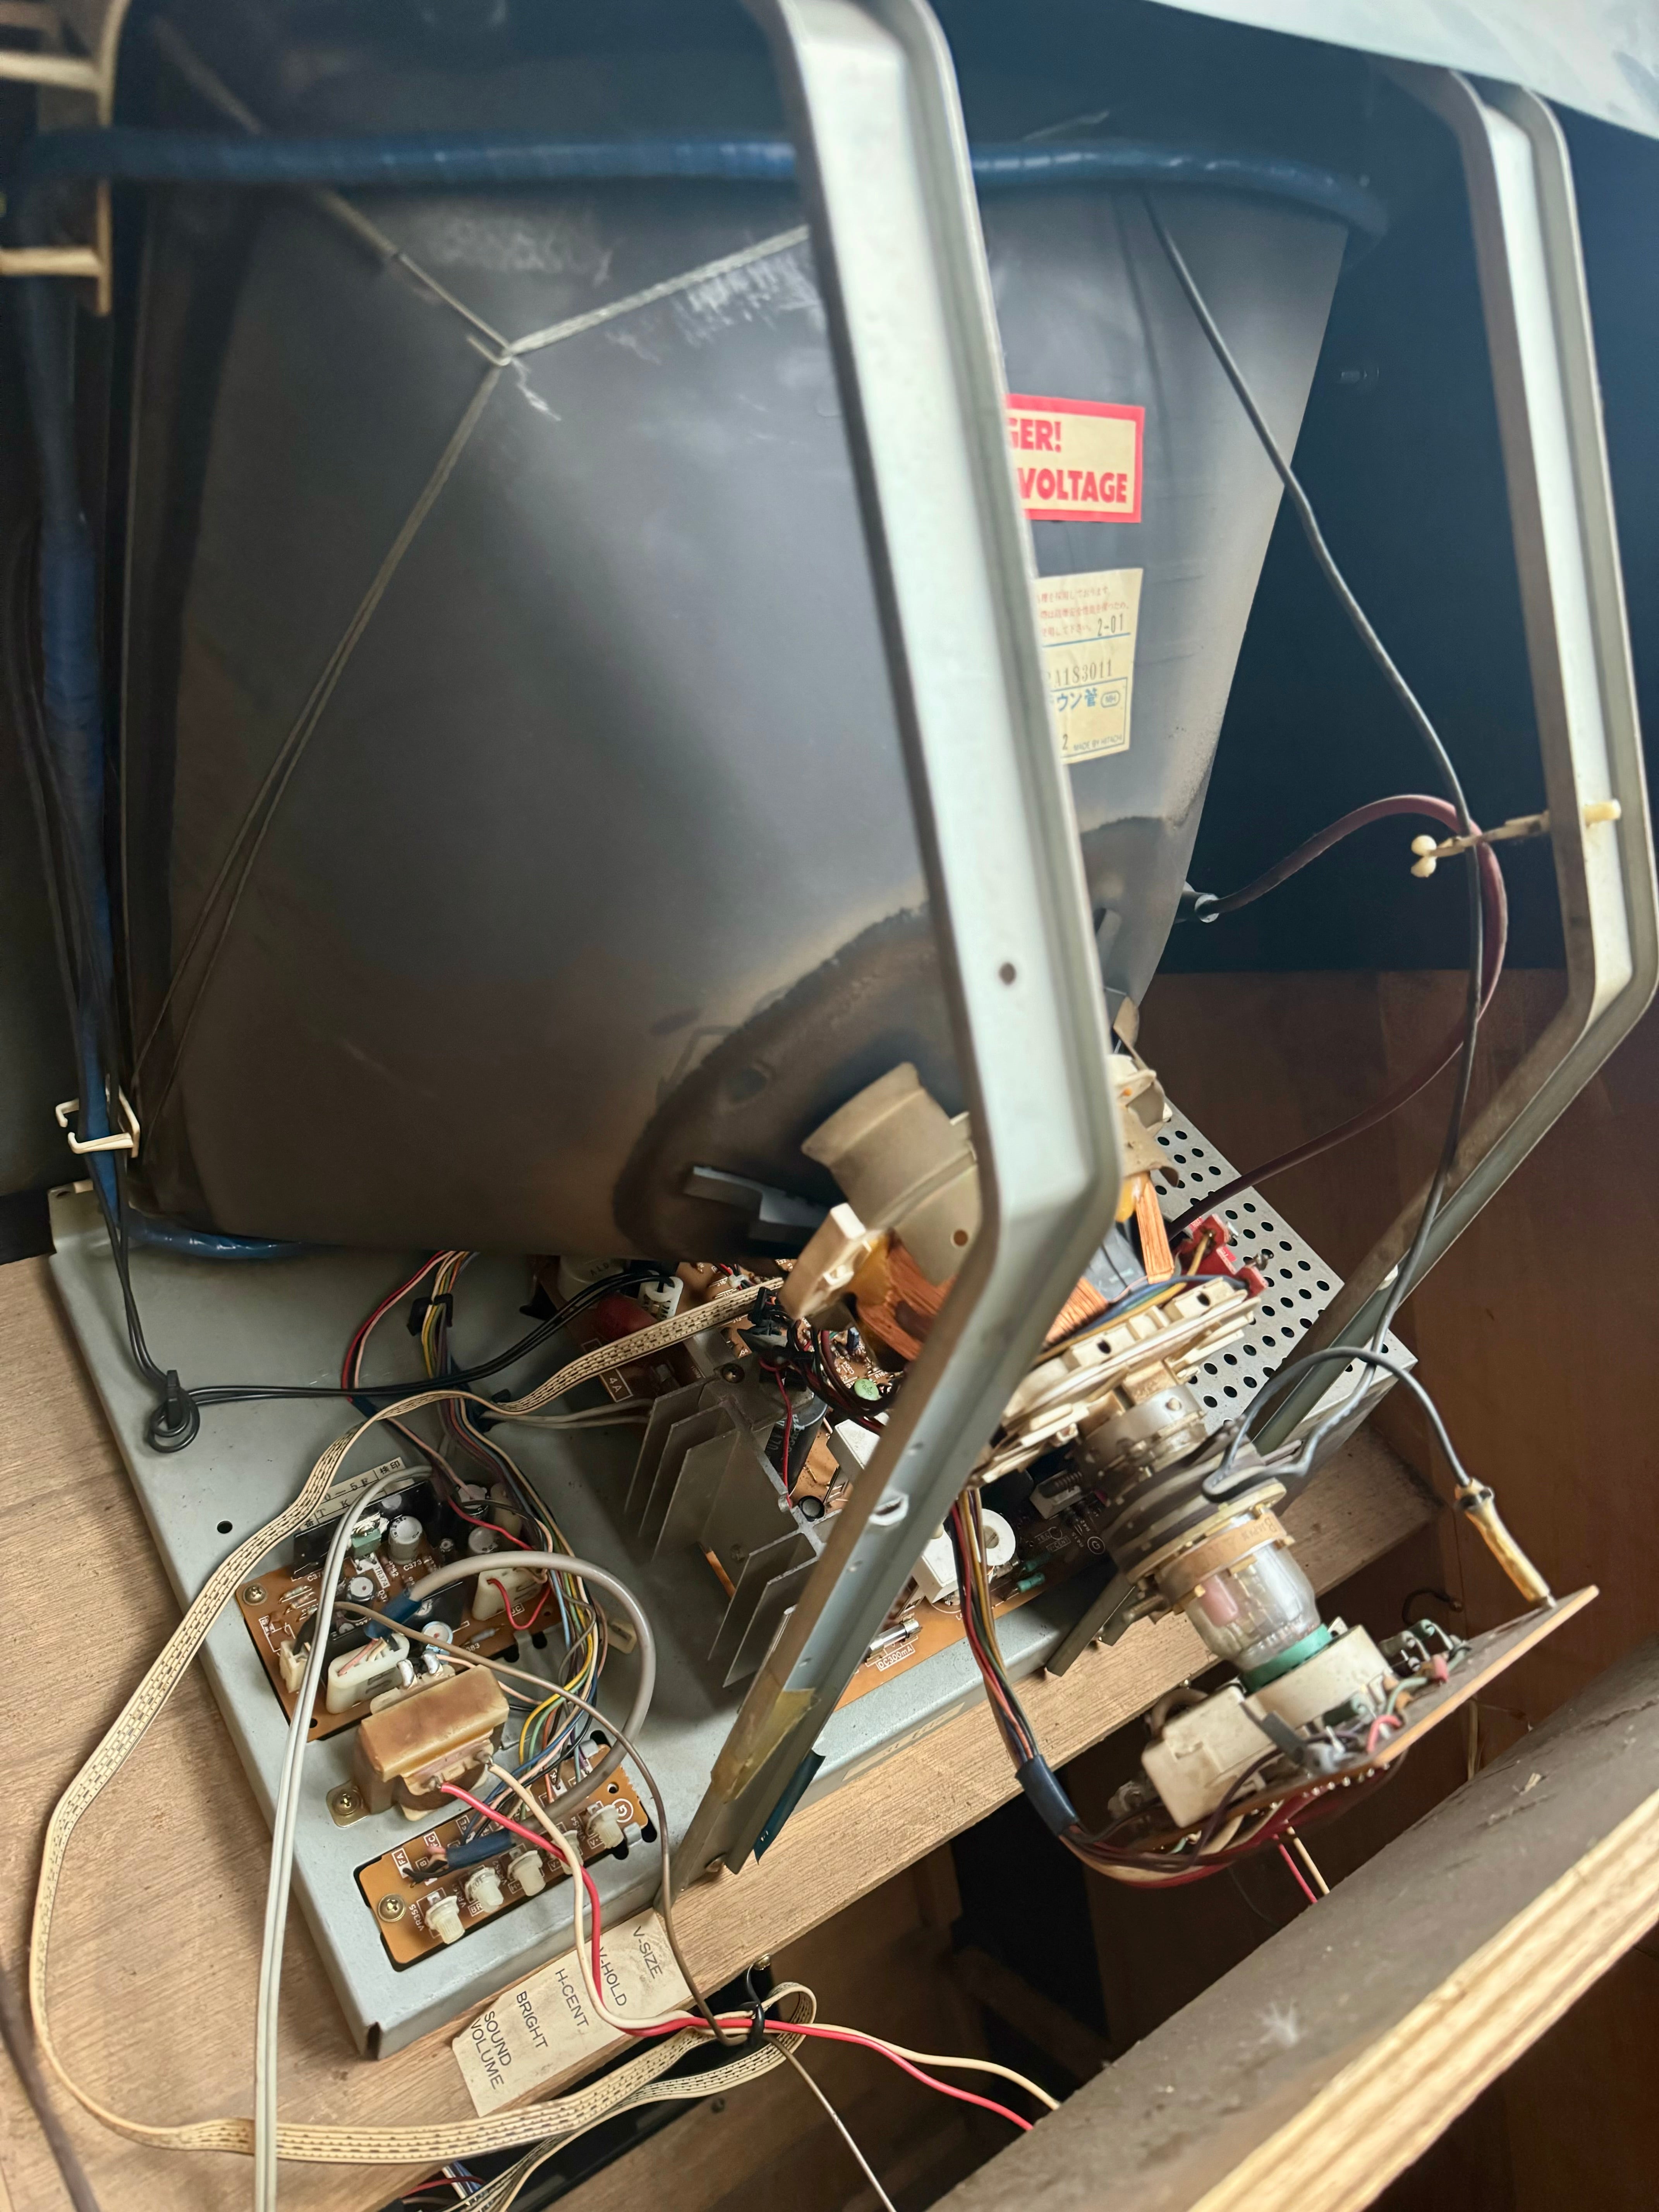
2. Key Components of a CRT Monitor
A CRT monitor consists of several important components that work together to produce the screen image.
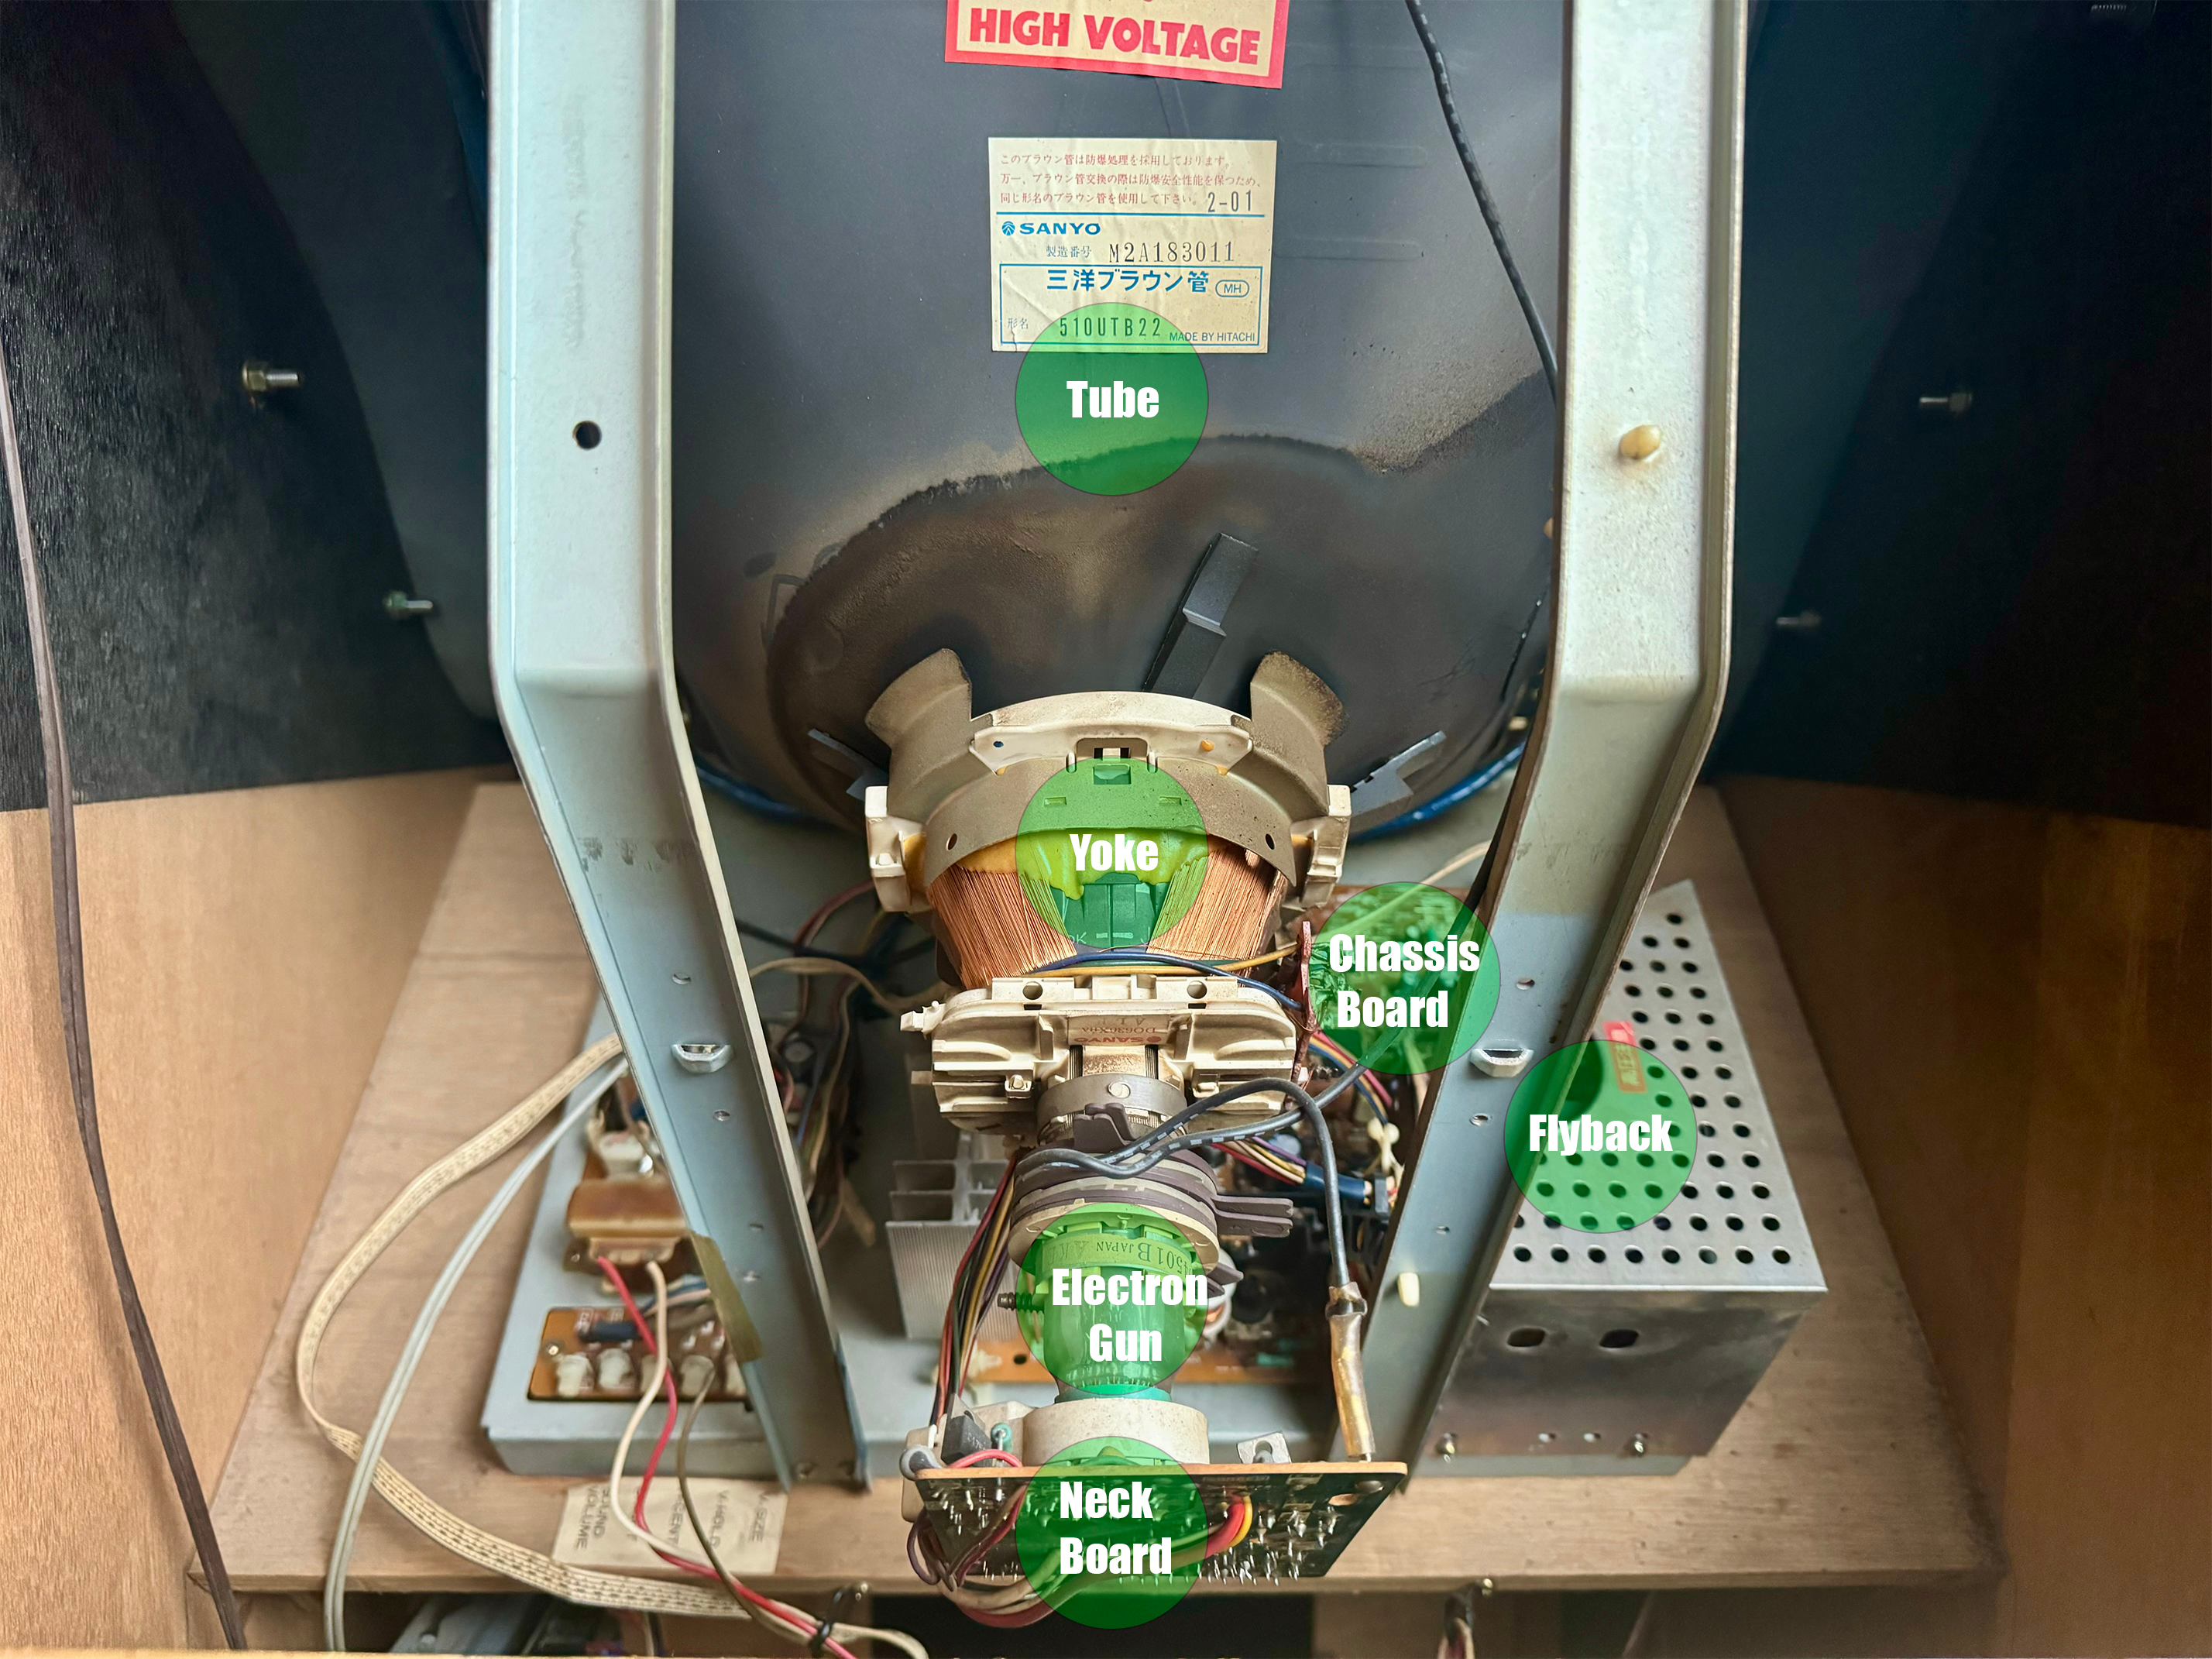
The Tube (CRT - Cathode Ray Tube)
- The large glass tube where the image is displayed.
- Coated with phosphor, which lights up when hit by an electron beam.
- Contains a vacuum to allow electrons to travel freely.
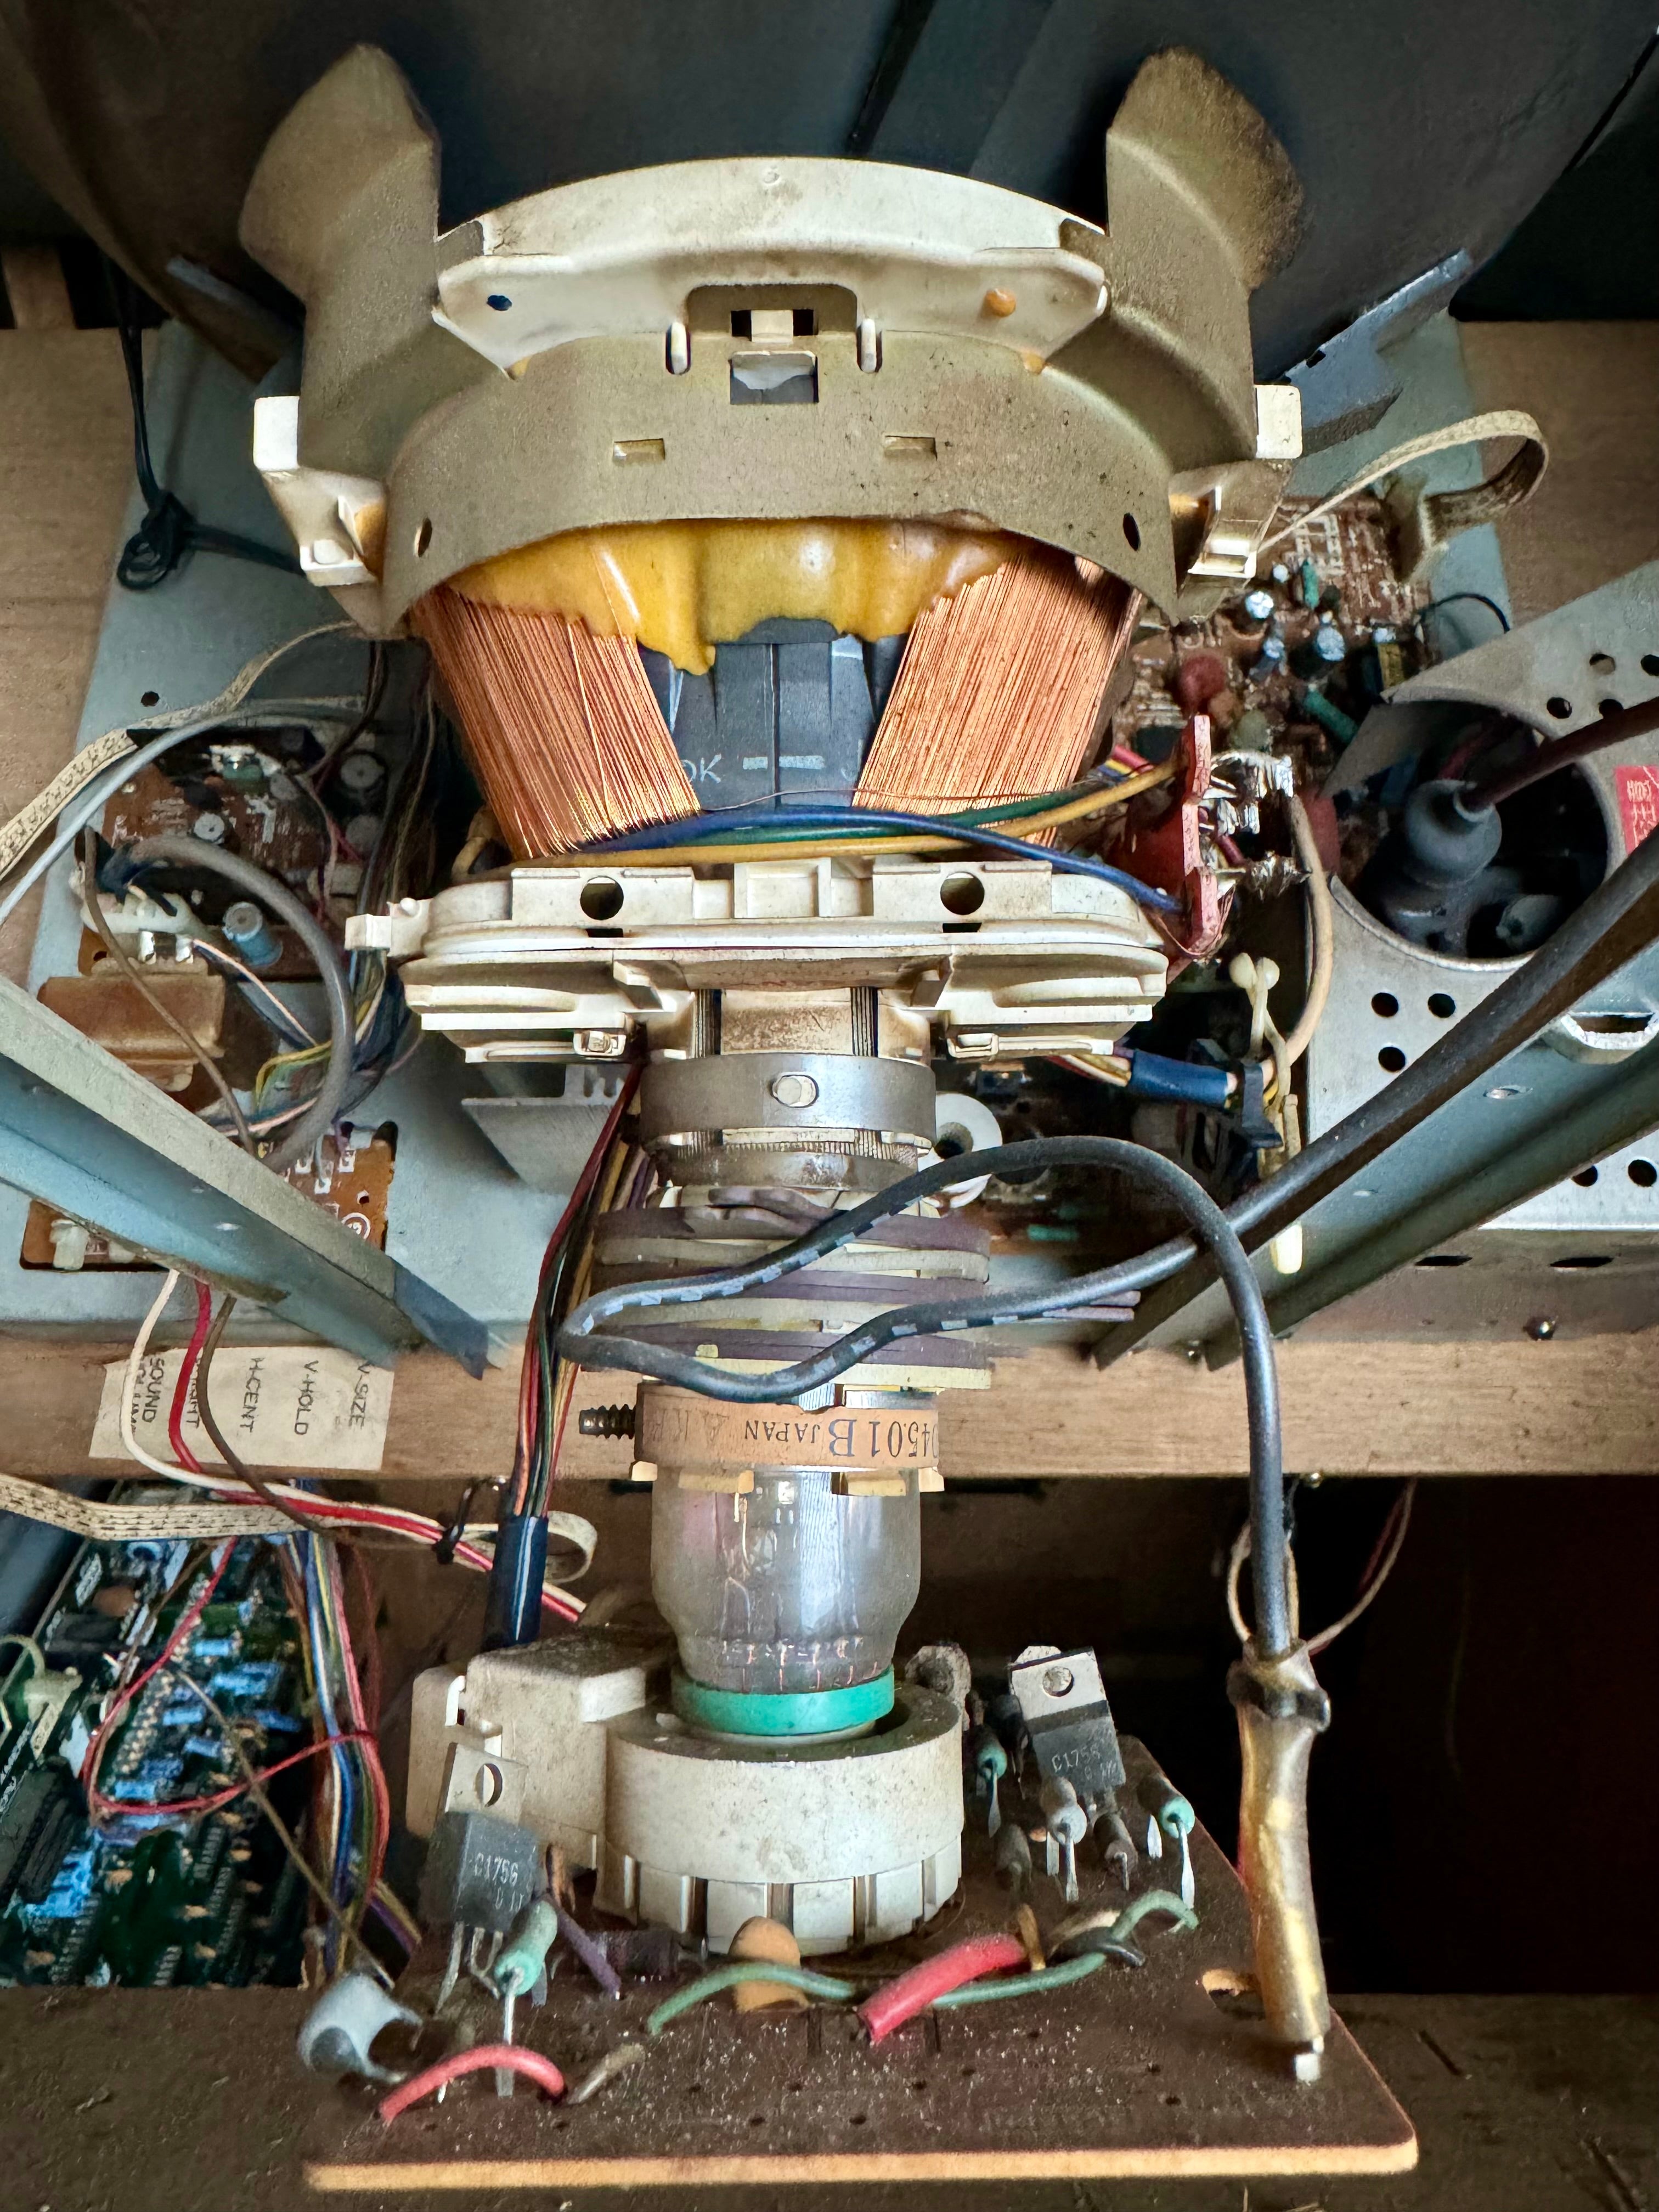
Electron Guns
- Located at the back of the tube, these emit electrons toward the screen.
- A typical color CRT has three electron guns (red, green, blue).
- The intensity of each electron beam determines the final color output.
Deflection Yoke
- A set of electromagnetic coils around the neck of the tube.
- Controls the movement of the electron beam left, right, up, and down.
- Works with the horizontal and vertical sync signals to display an image.
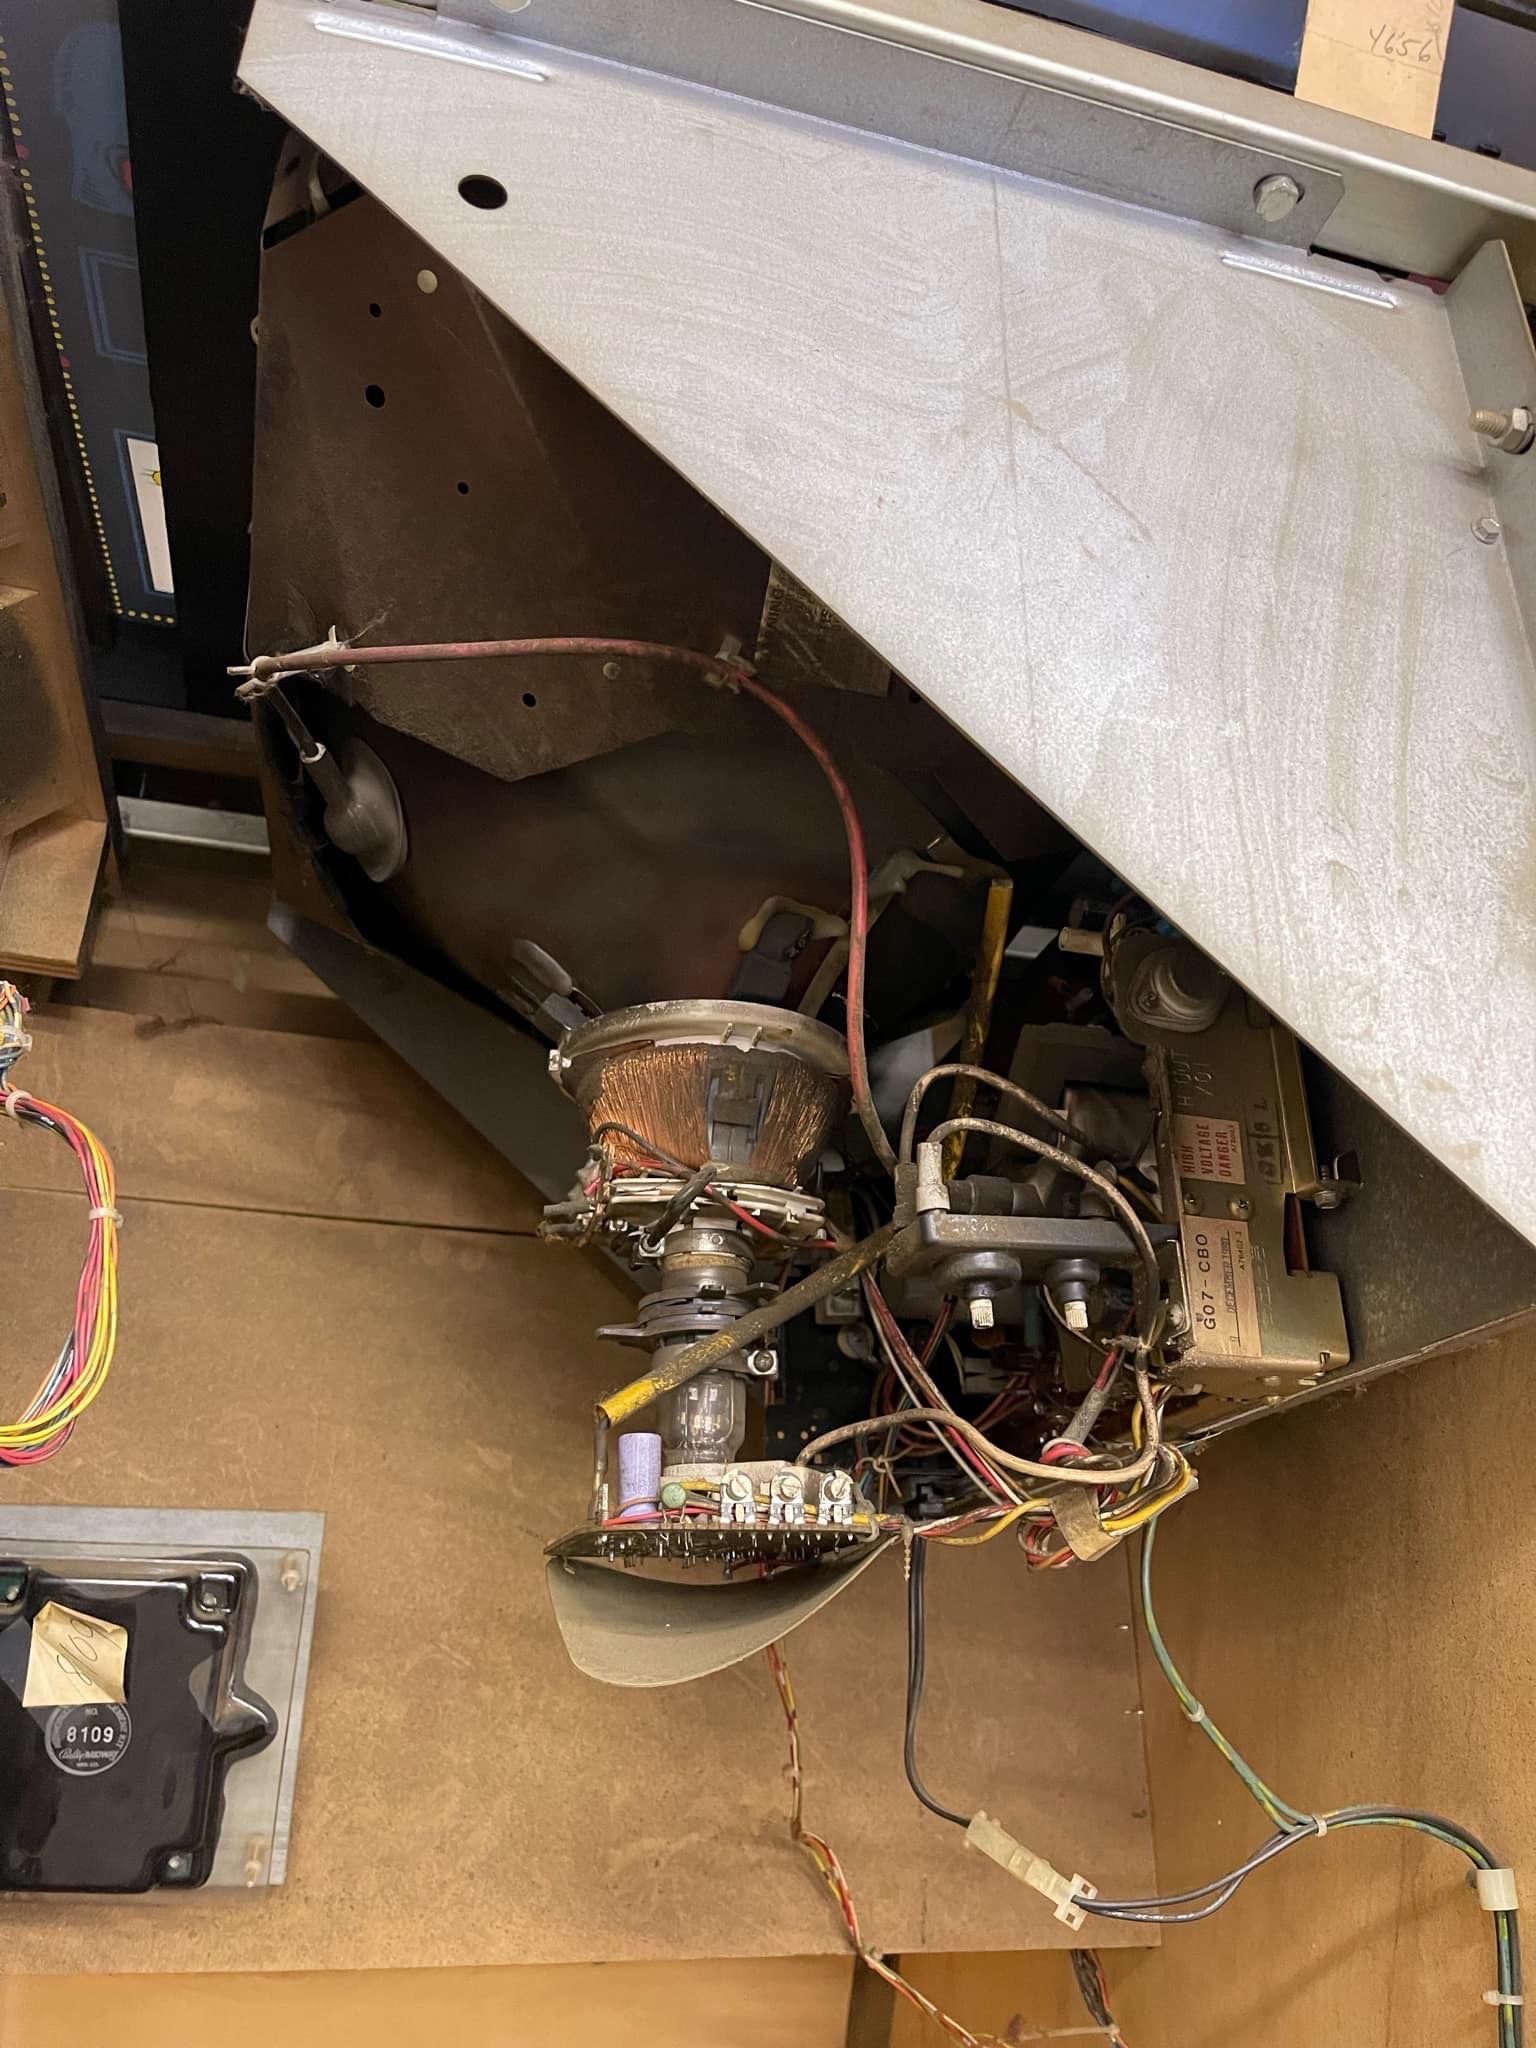
Flyback Transformer (High-Voltage Transformer)
- Generates the high voltage needed to accelerate the electron beams.
- Supplies static charge to the screen to help focus electrons.
- A failing flyback can cause dim screens, flickering, or total loss of video.
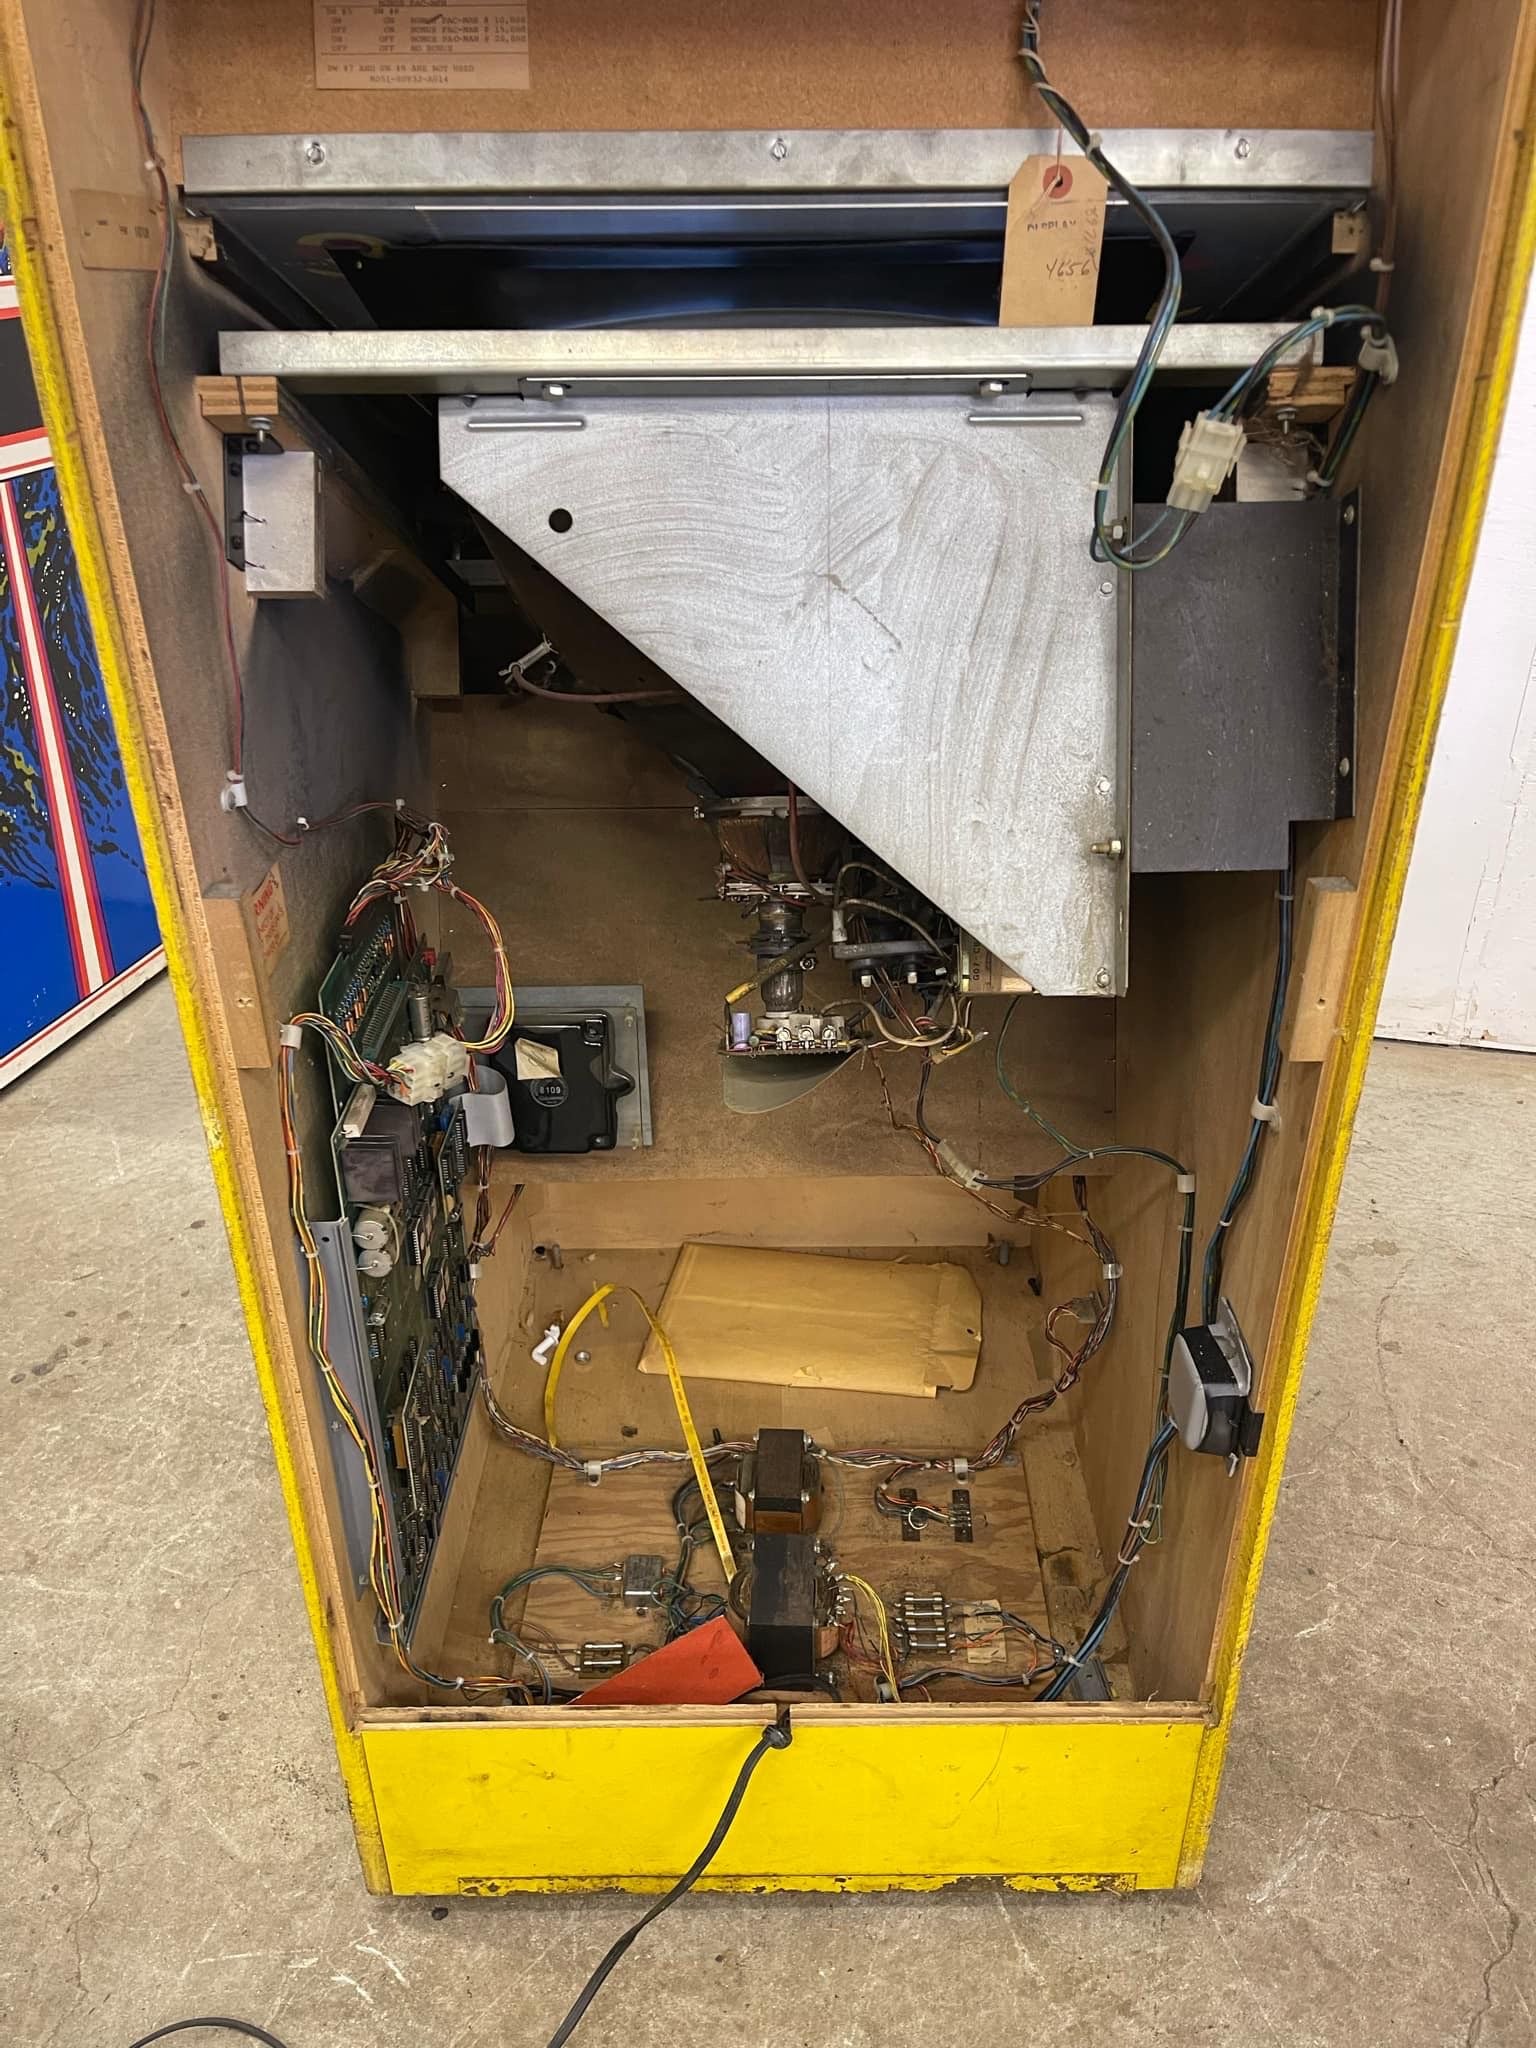
Chassis Board
- The circuit board that controls all CRT functions.
- Contains capacitors, transistors, and voltage regulators.
- Converts arcade PCB video signals into proper display output.
Anode Cap
- The high-voltage connection on the top side of the CRT.
- Stores dangerous levels of voltage, requiring caution when working on CRTs.
3. How an Arcade CRT Works
When powered on, the CRT monitor follows a sequence of operations:
- The arcade PCB sends a video signal to the monitor’s chassis board.
- The electron guns emit beams, which are directed by the deflection yoke.
- The beams strike the phosphor coating, lighting up individual pixels.
- The image is refreshed line by line, synchronized with the arcade board’s signal.
- The flyback transformer maintains high-voltage stability for a clear image.
4. Common CRT Issues & Troubleshooting
Over time, arcade CRTs can develop problems due to aging components or electrical failures.
Screen Issues
- No Picture / No Power – Possible causes: Blown fuse, bad flyback transformer, failed capacitors.
- Dim or Washed-Out Image – Caused by aging phosphors, weak flyback transformer, or low tube voltage.
- Flickering / Image Collapse – Could be due to a bad deflection yoke or failing horizontal sync.
- Color Problems (Too Red/Blue/Green, Missing Colors) – Check and adjust the color drive circuits or replace faulty transistors.
Electrical & Safety Issues
- Static Discharge / Shocks – The anode cap holds thousands of volts, even when unplugged. Always discharge properly before working on a CRT.
- Burn-In / Image Retention – Happens when a static image is left on screen for too long, permanently marking the phosphor.
- Capacitor Failure – Aging capacitors cause instability, power loss, or image distortion.
How to Troubleshoot Safely
- Check voltages using a multimeter before replacing parts.
- Inspect solder joints for cracks or damage.
- Discharge the tube properly before any repair (using a discharge wand or insulated screwdriver with a grounding wire).
5. Restoring & Maintaining Arcade CRTs
With proper care, a CRT monitor can last decades. Restoration is key to keeping arcade machines looking their best.
Routine Maintenance
- Clean the tube and chassis to prevent dust buildup.
- Check power connections and voltages regularly.
- Adjust brightness, contrast, and focus using control pots on the chassis.
Restoration Techniques
- Cap Kit Replacement: Replacing old capacitors improves image stability.
- Tube Rejuvenation: Using a CRT rejuvenator can restore weak electron guns.
- Flyback Transformer Replacement: If a CRT loses power or flickers, a new flyback can restore it.
- Convergence Adjustment: Aligns RGB electron beams for a sharper image.
6. Replacing a CRT vs. LCD Conversion
As CRTs become harder to find, some arcade owners consider switching to LCDs. However, LCDs change the original look and feel of classic games.
Pros of Keeping a CRT
- Authentic arcade visuals with proper scanlines and refresh rates.
- No input lag, unlike modern LCDs.
- Better motion clarity, especially for fast-moving games.
Pros of LCD Conversion
- Easier to maintain (no high voltage hazards or aging capacitors).
- Brighter and more energy-efficient.
- Easier to source new replacements.
While LCDs are a practical alternative, many enthusiasts prefer repairing CRTs to maintain authenticity.

7. Conclusion & Next Steps
CRT monitors were an integral part of arcade gaming history, delivering unmatched color depth and response times. Though they require careful maintenance, they remain the preferred choice for arcade purists.
Related Pages
- Ultimate Guide to ArcadeMachine Repair:Troubleshooting & Fixes
- What’s Inside an ArcadeMachine & How Does ItWork?
- Arcade Hardware Explained: Understanding the PCB
- Arcade Hardware Explained: Understanding Power Supplies
Resources
- Mike's Amateur Arcade Monitor Repair
Monitor arcade repair Youtube channel that covers different monitors and guides you step-by-step (recommended) - Arcade Game Service Manuals - PrimeTime Amusements
A comprehensive collection of digital service manuals for various arcade games, available in PDF format. - The Arcade Manual Archive (TAMA) - International Arcade Museum
A premier technical manual resource offering a vast archive of manuals, circuit diagrams, and other materials related to arcade machine operation. - GameRepair.info - Arcade Repair Collaborative Manual
A collaborative manual created by collectors and operators, documenting repair tips and technical information for various arcade games and systems.